Schedule Overview
Schedule Overview
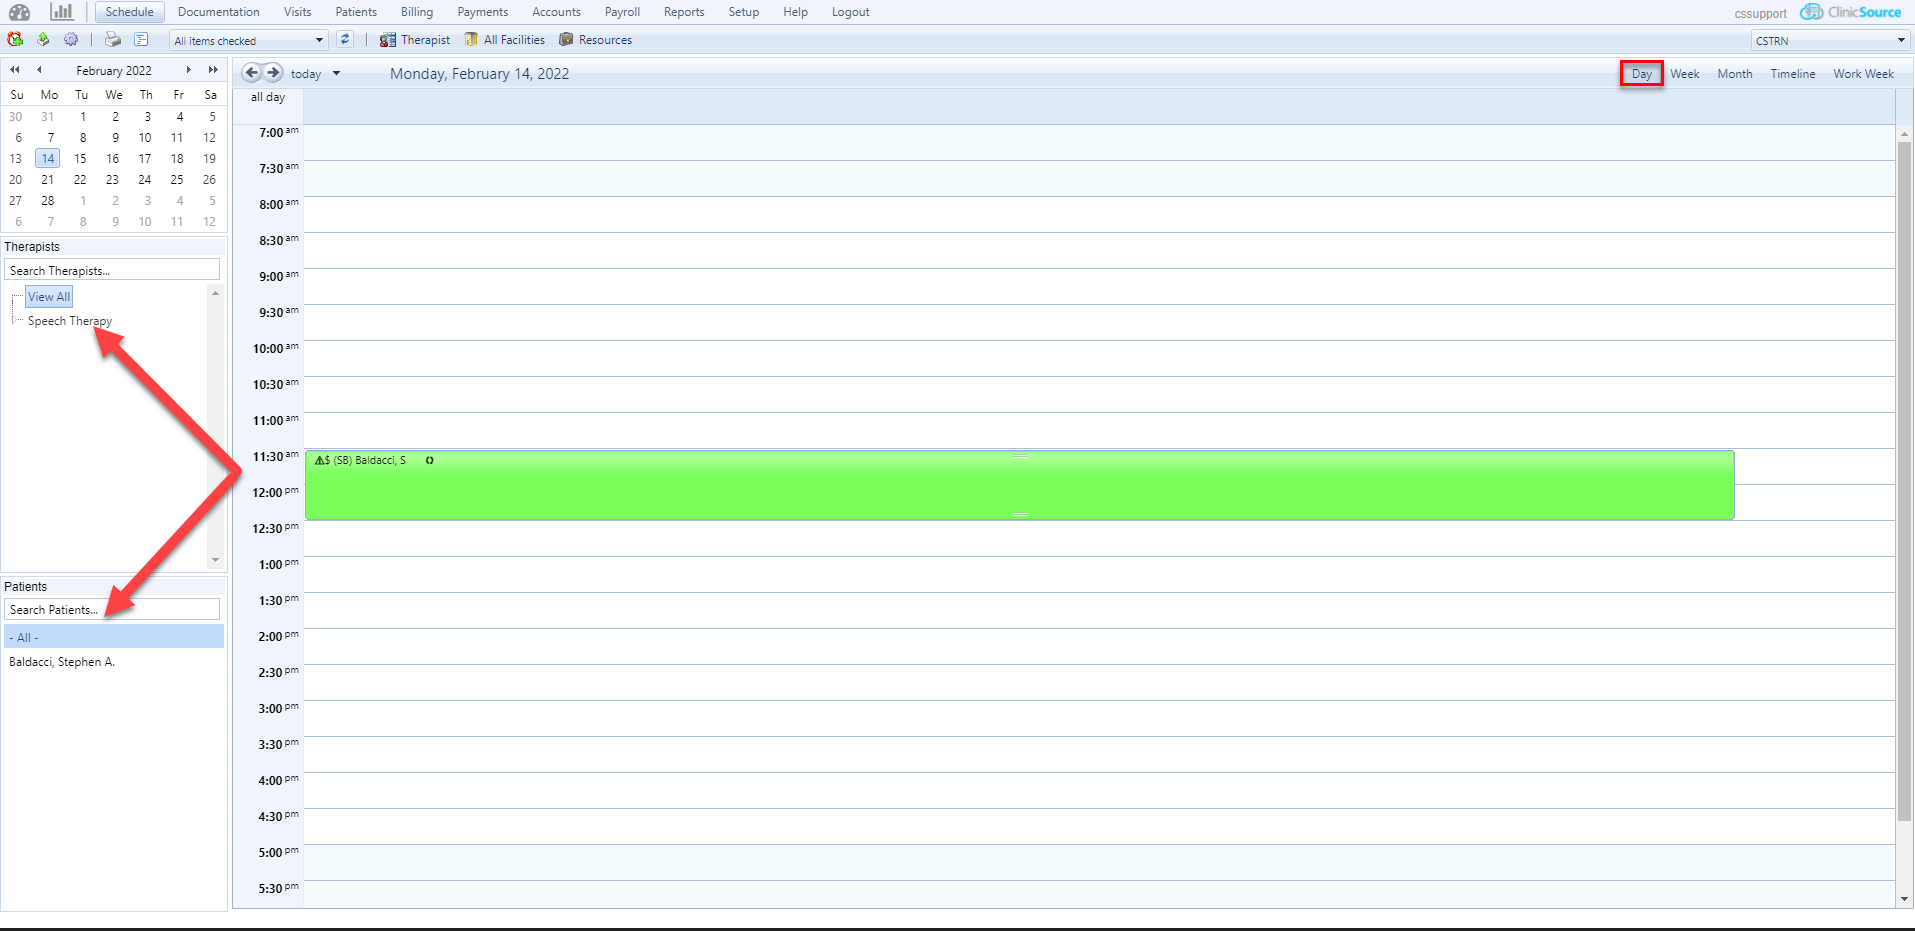
When you log into ClinicSource, the first thing you will see is the Scheduler. A Day view of the schedule will appear here by default showing all of the appointments and alerts scheduled for the day.
To view appointments by therapist, select a therapist name on the left sidebar, under Therapists. Click on an individual therapist's name to view only the appointments and alerts assigned to him/her, or type in a name in the blank field titled Search Therapists. To view appointments by patient, select a patient name on the left sidebar under Patients, or enter a patient's name in the Search Patients field.
After you filter your schedule as desired, the appointments by therapist or patient (or for all therapists/patients) will appear.
The scheduler calculates the size of your screen and will adjust the size accordingly. If your display is enlarged, you will need to scroll to view the content.
There are 7 toolbar buttons at the upper left corner of the scheduler: Create New Appointment ![]() , Export Current View to External Calendar
, Export Current View to External Calendar ![]() , Appointment Options
, Appointment Options  , Print
 ![]() , Print Agenda View
, Print Agenda View ![]() , Appointment Types Filter
, Appointment Types Filter  , and Refresh Schedule
 ![]() . The function of these buttons are as follows.
. The function of these buttons are as follows.
- Create New Appointment
 Opens the New Appointment dialog box. This is where you can create a new one-time or recurring appointment.
- Export Current View to External Calendar
 Exports the current schedule view to an external calendar, within a program outside of ClinicSource (e.g. iCal, Microsoft Outlook, Google Calendar.) NOTE: The Calendar Export view is not a synchronization tool, and will only export the current schedule view to an external calendar program. ClinicSource does not support synchronization with external calendar programs.
- Appointment Options
 Opens a menu where you can customize and create new Appointment Types for use on the schedule.
- Print
 Prints the current page. Pop-ups must be enabled on your browser in order to print.
- Print Agenda View
 Exports a listing of your appointments and alerts to a printable PDF file.
- Appointment Types Filter
 Opens a dropdown menu from which you can filter what Appointment Types appear and do not appear on your schedule.
- Refresh Schedule
 Refreshes the schedule. If a therapist creates a new appointment, the schedule must be updated via this button to visibly reflect the changes.
Hover over an appointment with your cursor to see a summary of the appointment information (see Tool Tips).
The appointments on the schedule are color-coded so you can see at a glance the type of appointment scheduled. The default color names are:
- Red - Alert
- Yellow - Evaluation
- Purple - Lunch, Meeting, Other, Screening, Vacation
- Pink - Therapy
|
Symbols |
Meaning |
|
|
Patient has Alerts/Precautions or Allergies defined |
|
|
There is Patient level responsibility assigned |
|
|
CSTeleCare Session Icon |
|
|
Initials in brackets - The initials of the treating/scheduled therapist |
|
|
Reoccurring appointment |
|
|
Attendance status set to "Absent" |
|
|
Strike through = Attendance status set to :Cancellation" |
|
|
Attendance status set to "Confirmed" |
|
|
Attendance status set to " No Show" |
|
No visual identifier |
Attendance status set to "Other" |
|
|
Attendance Status set to "Present" |
|
|
Text on schedule is displayed when "Subject" field is filled out |


The names and colors of these Appointment Types can be customized from the Appointment Options menu.
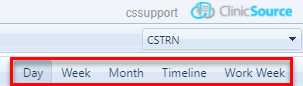
From the Scheduler, you can change the view of the schedule by clicking on Day, Week, Month, or Timeline, underneath the name of your clinic at upper right. This will adjust the schedule accordingly, showing you all of the appointments scheduled for the day, week, month, or in Timeline view. (Click here for more information on Timeline view). You can also change the facility by clicking on a name in the dropdown box above the Day/Week/Month/Timeline selector.
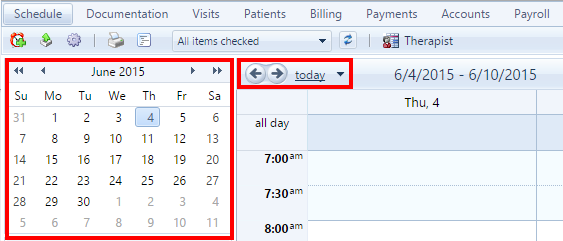
Alternatively, you can navigate the scheduler by clicking a date on the default calendar at upper left, using the arrows next to the current scheduler view, or by clicking the drop-down arrow, which will open a separate calendar.
Click here to find out about integrating your scheduler to sync with Google Calendar.
Created with the Personal Edition of HelpNDoc: Create help files for the Qt Help Framework